Raspberry Pi NAS
Creating a raspberry Pi NAS with openmediavault
Preparation
Requirements
Hardware
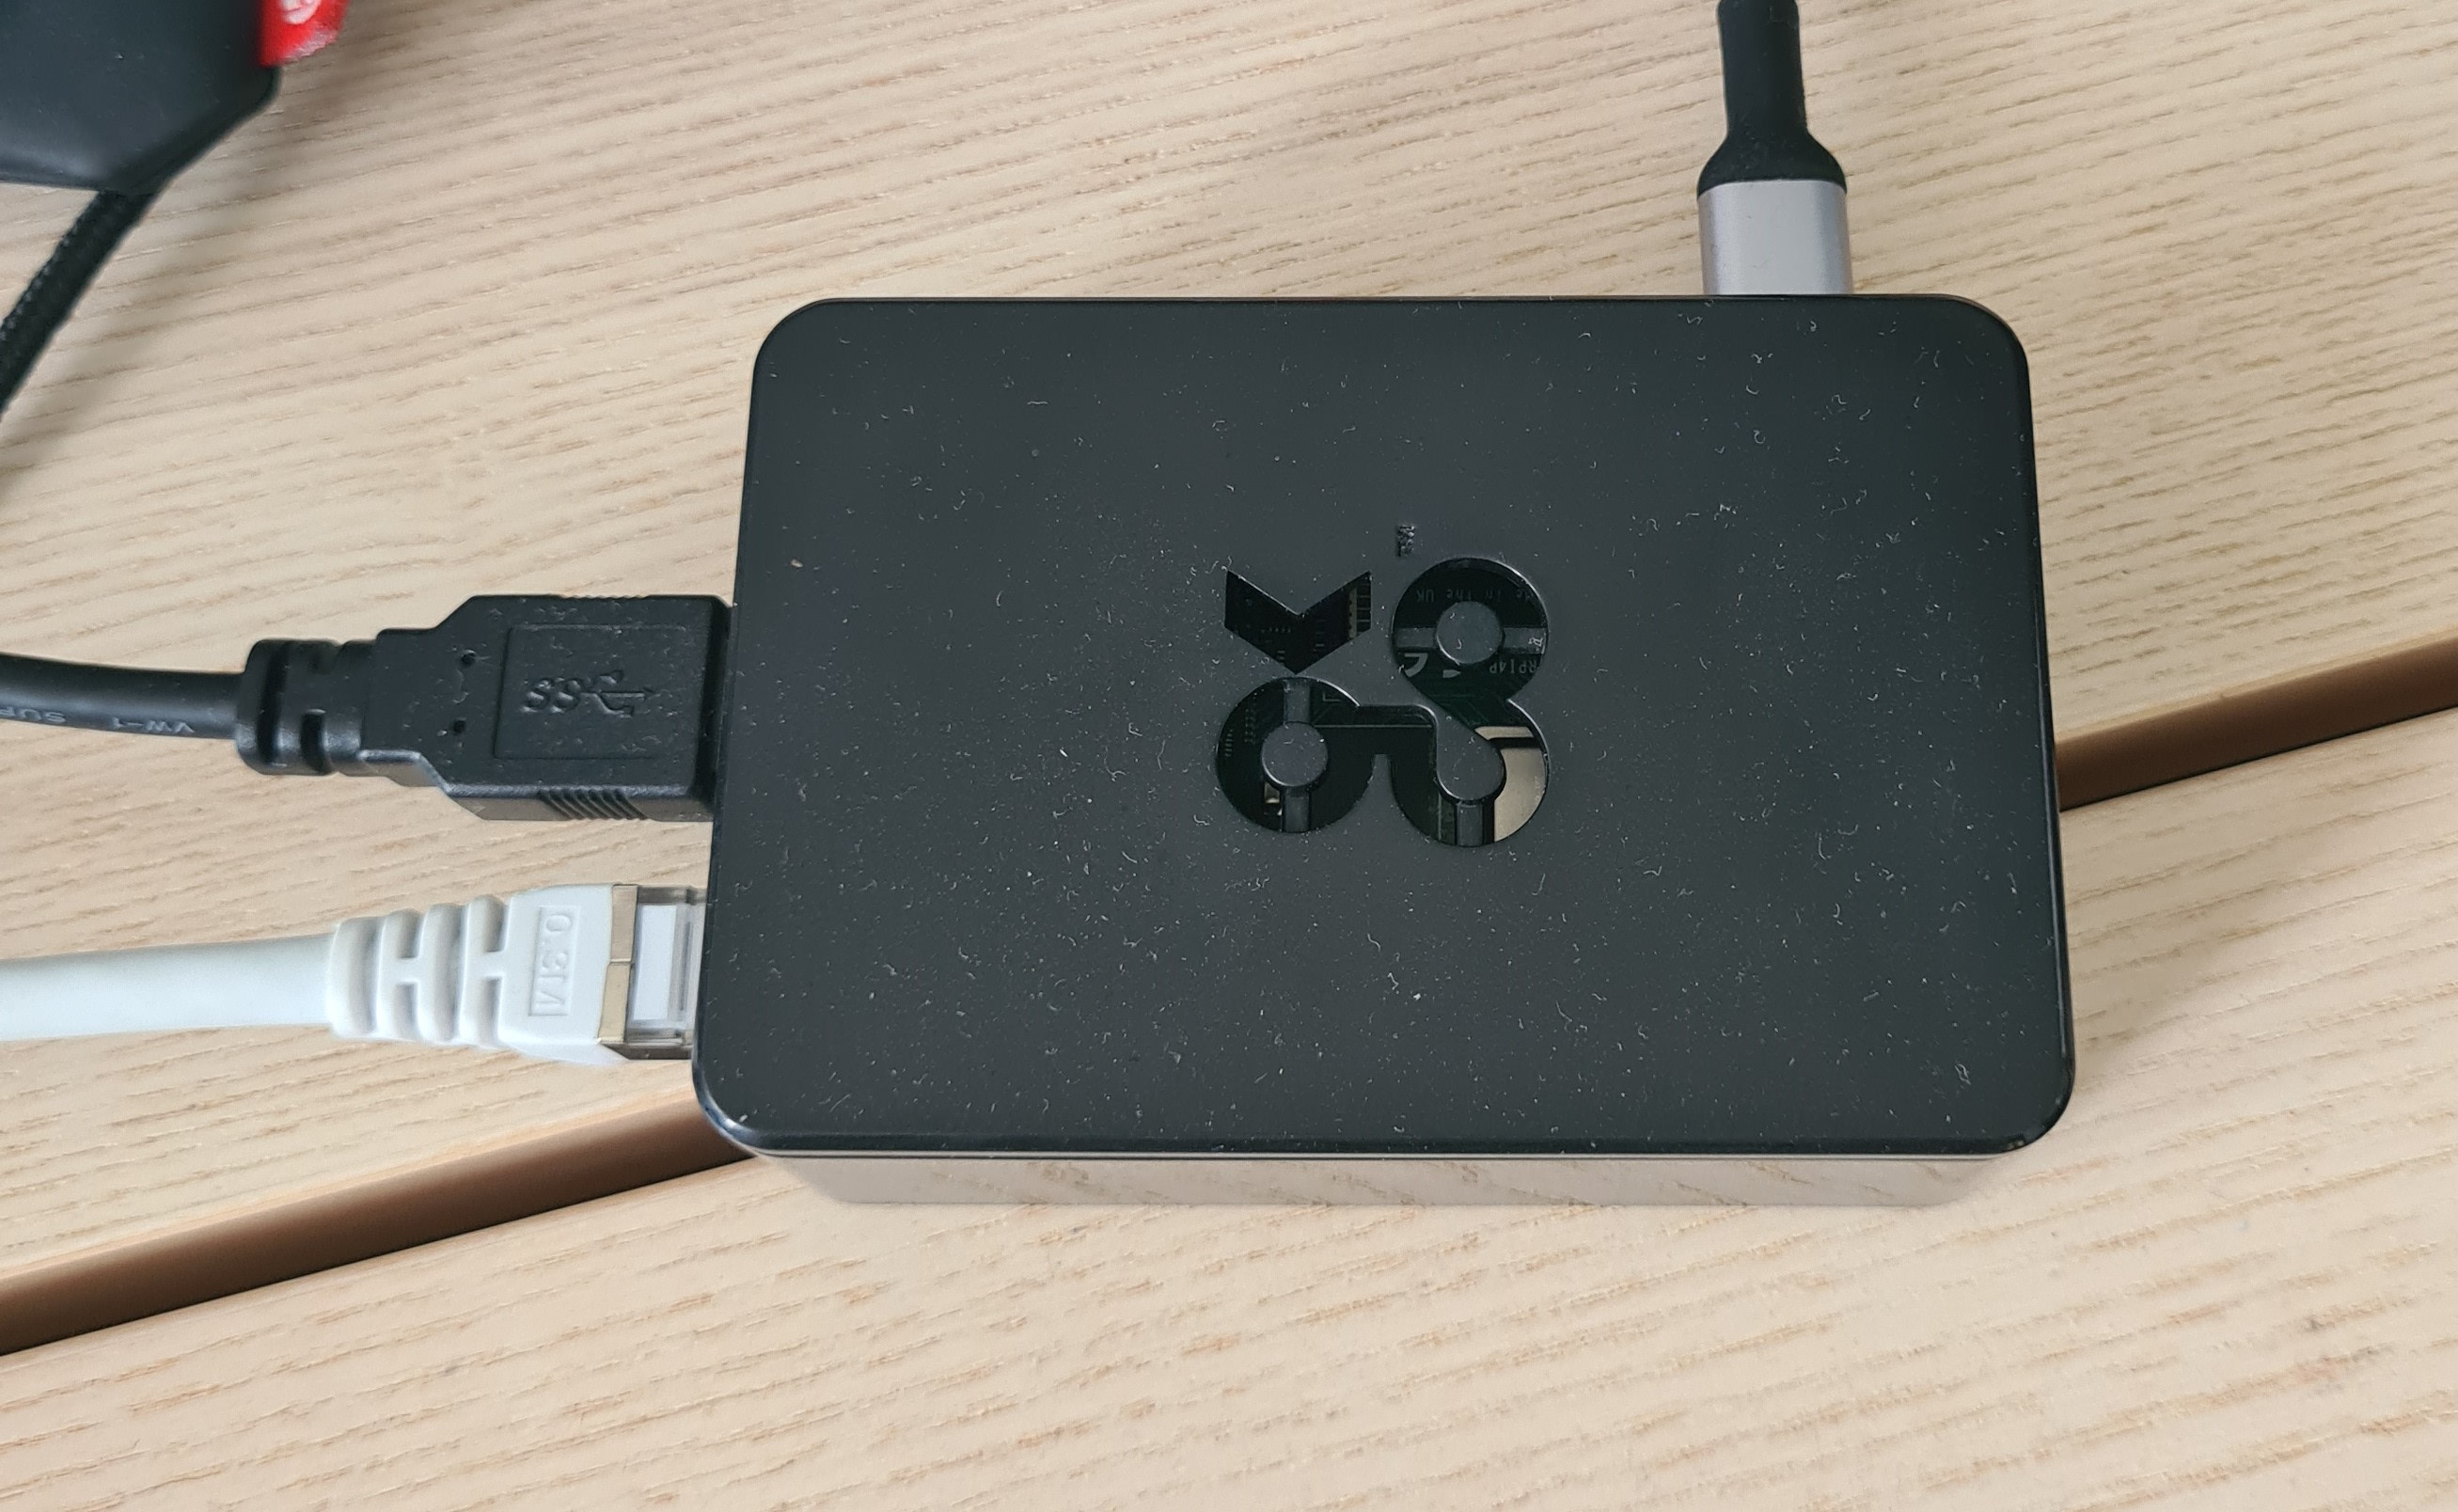
- A Raspberry Pi 4B with 8 GB RAM
- It includes USB 3.0
-

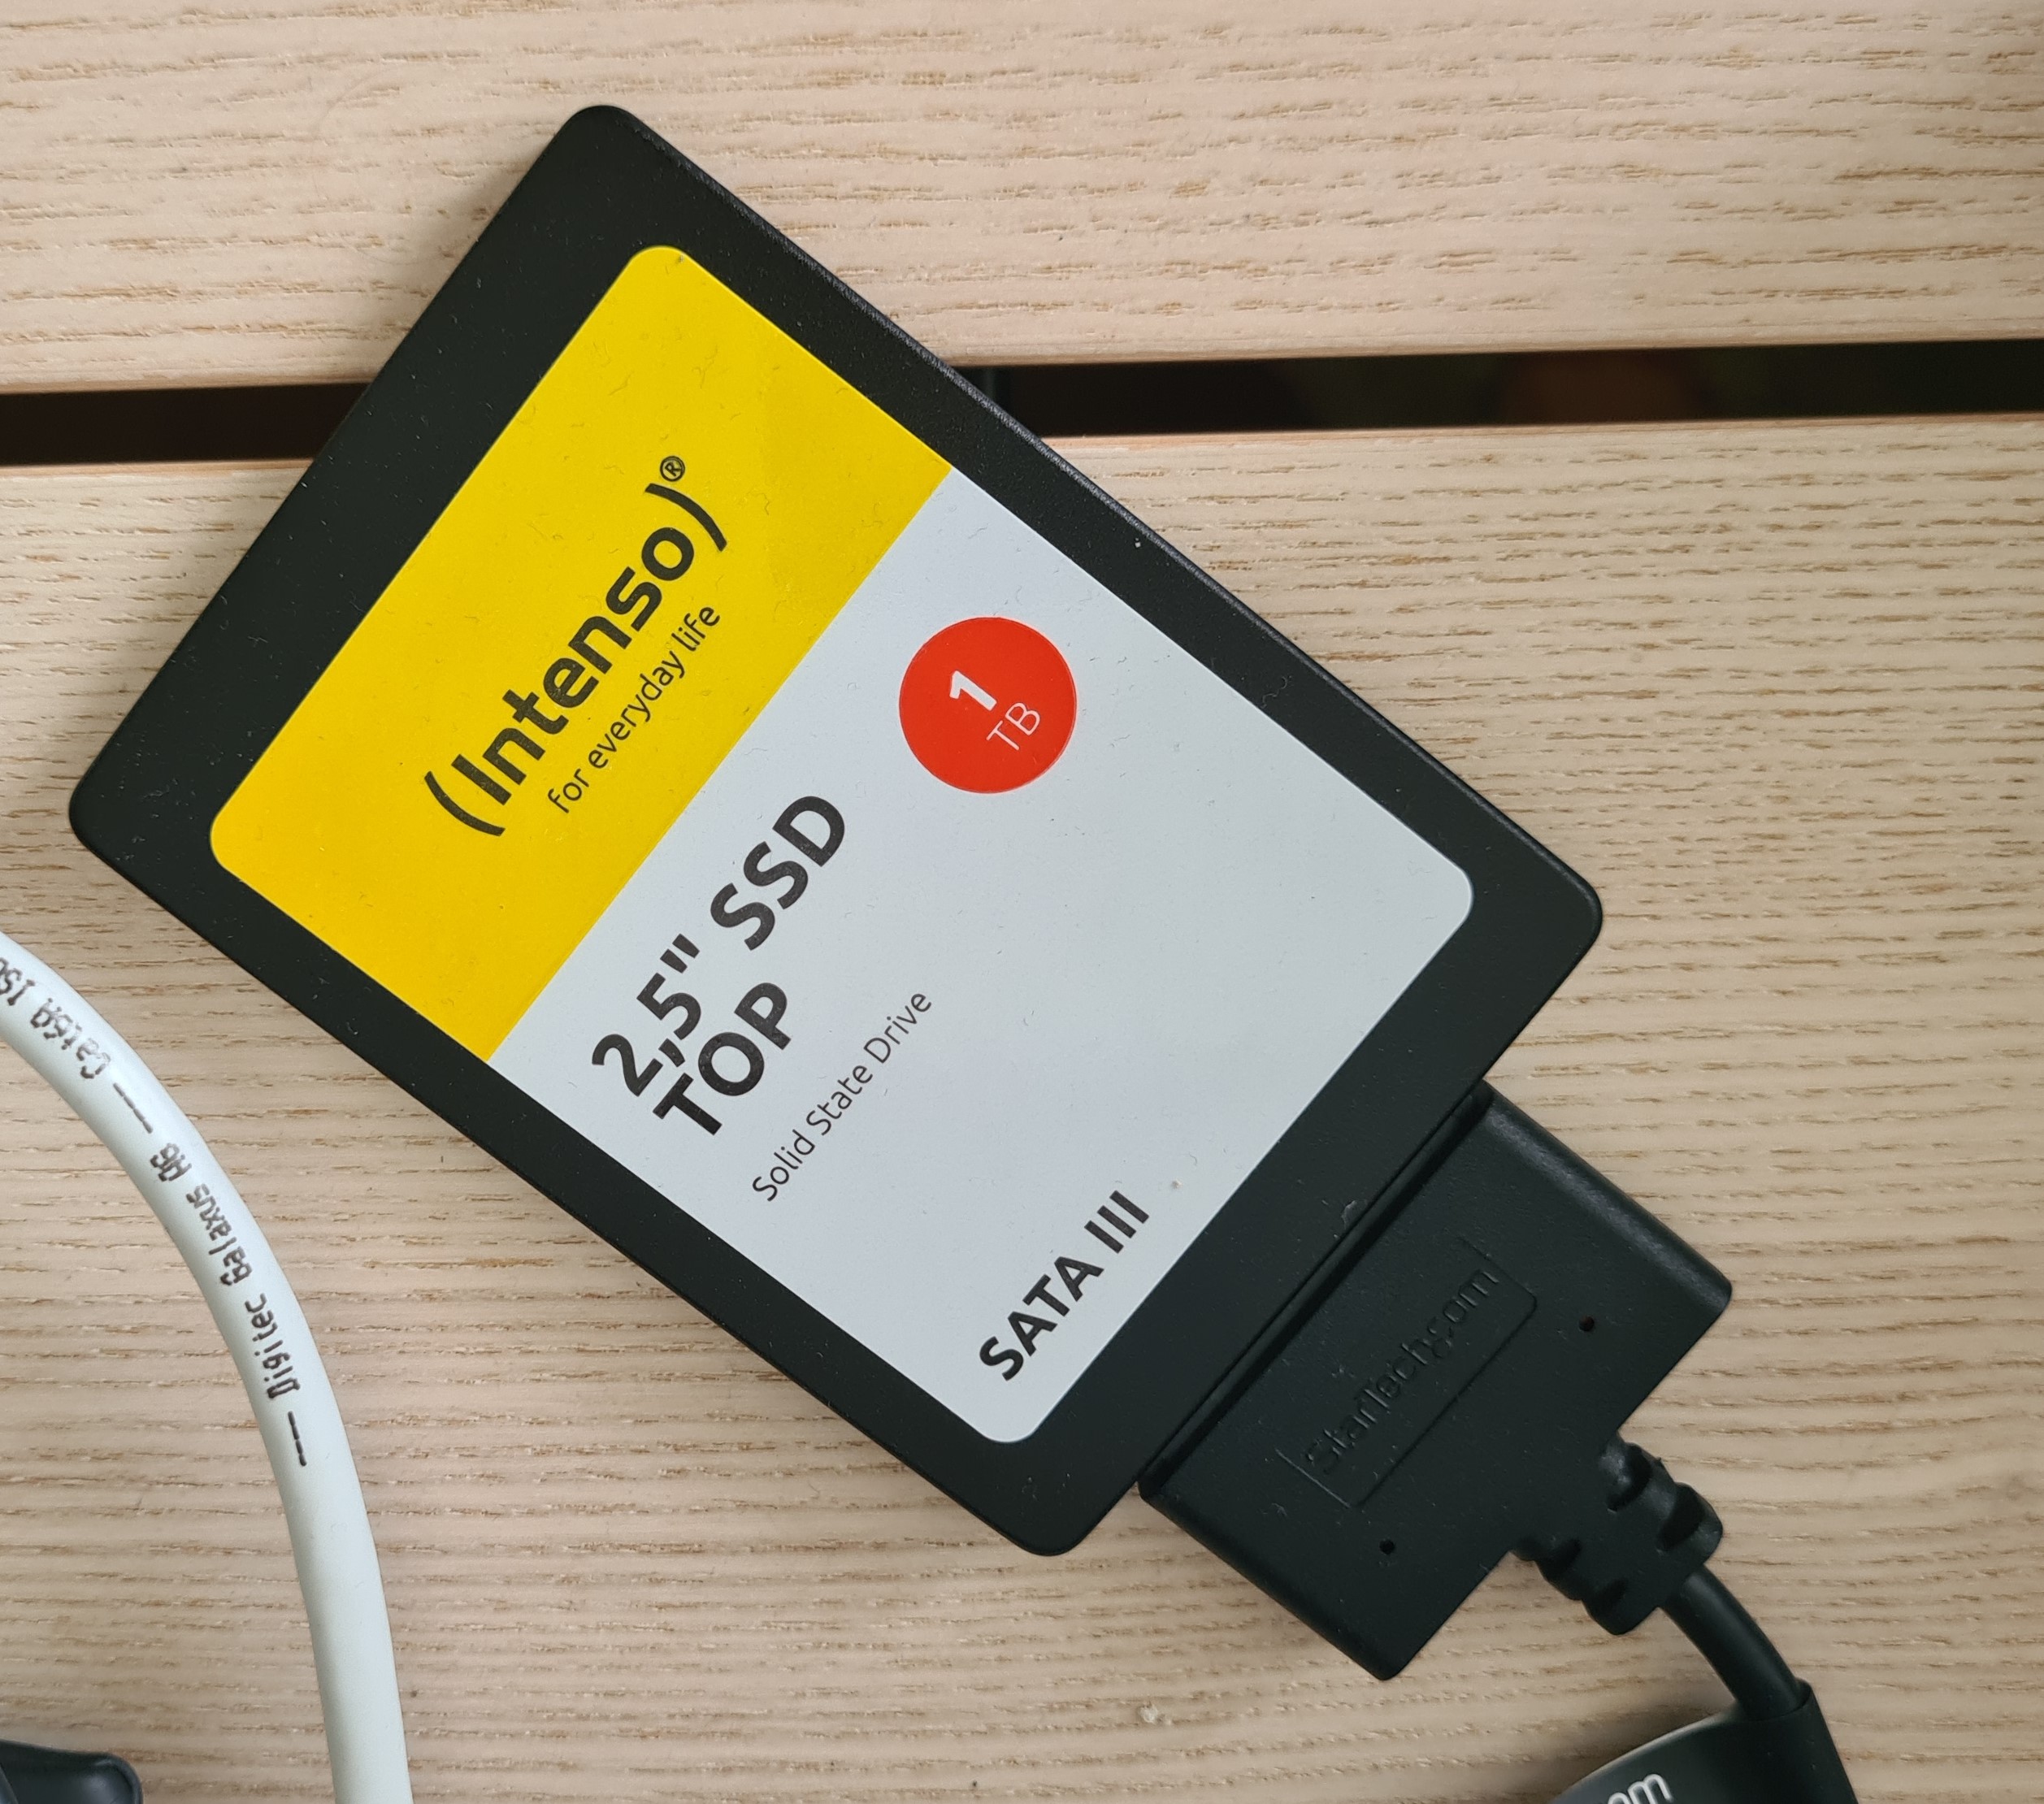
- A SSD Drive around 1TB.
-
- 32GB SD card for OS Storage
Software
- Operating System: Raspberry Pi OS Lite 64-bit
- Important: OMV can't be installed on a Desktop version
- OMV for NAS Server
- Plex media server
https://www.packetmania.net/en/2021/12/29/RPi-NAS-Plex/
Raspberry Pi setup
Bake OS
Download the Raspberry Pi imager from https://www.raspberrypi.com/software/ and install write the OS on your SD card.
1. Select: Raspberry Pi OS Lite (64-bit) 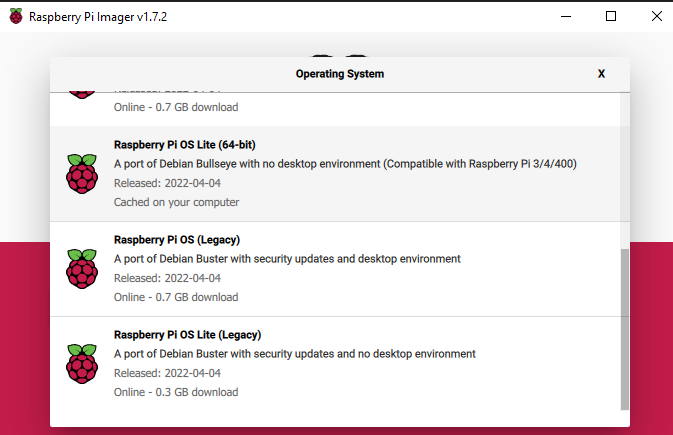
2. Select the SD card as Storage device
3. Define the hostname and enable SSH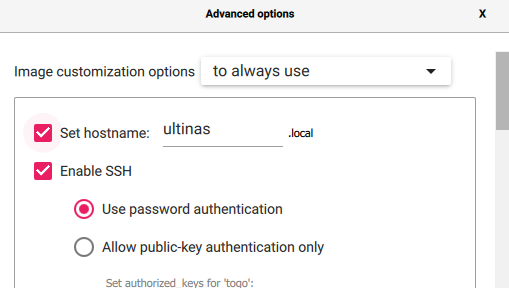
4. Enter your credentials which you want to login later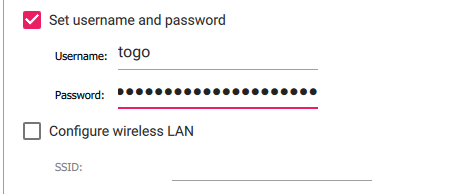
5. If you are not via LAN connected you can configure the Wifi as well in the setting.
6. Execute it! After that stick the SD card into the Raspberry Pi and power it on.
Connect via SSH
Windows
Download https://www.advanced-ip-scanner.com/de/ and scan your network. You'll see the IP address and hostname.
Connect with putty https://www.putty.org/ or use WSL (Windows Subsystem for Linux) https://docs.microsoft.com/de-de/windows/wsl/install
Enter ssh username@192.168.1.222 and provide your password
MAC / Linux
Open the terminal and scan the network with NMAP.
nmap -sn 192.168.1.0/24Then enter ssh username@192.168.1.222 and provide your password
Install OMV
First of all make sure your Raspi is updated and upgraded.
sudo apt update

sudo apt upgrade
Afterwards download the OMV install script.
wget -O - https://raw.githubusercontent.com/OpenMediaVault-Plugin-Developers/installScript/master/install | sudo bashThe installation takes a while. To make sure your files were downloaded enter following:
dpkg -l | grep openme
That was it already now enter the IP of your Raspberry Pi in your browser.
Configure OpenMediaVault
First Login
Enter the IP of your Raspberry in your Browser.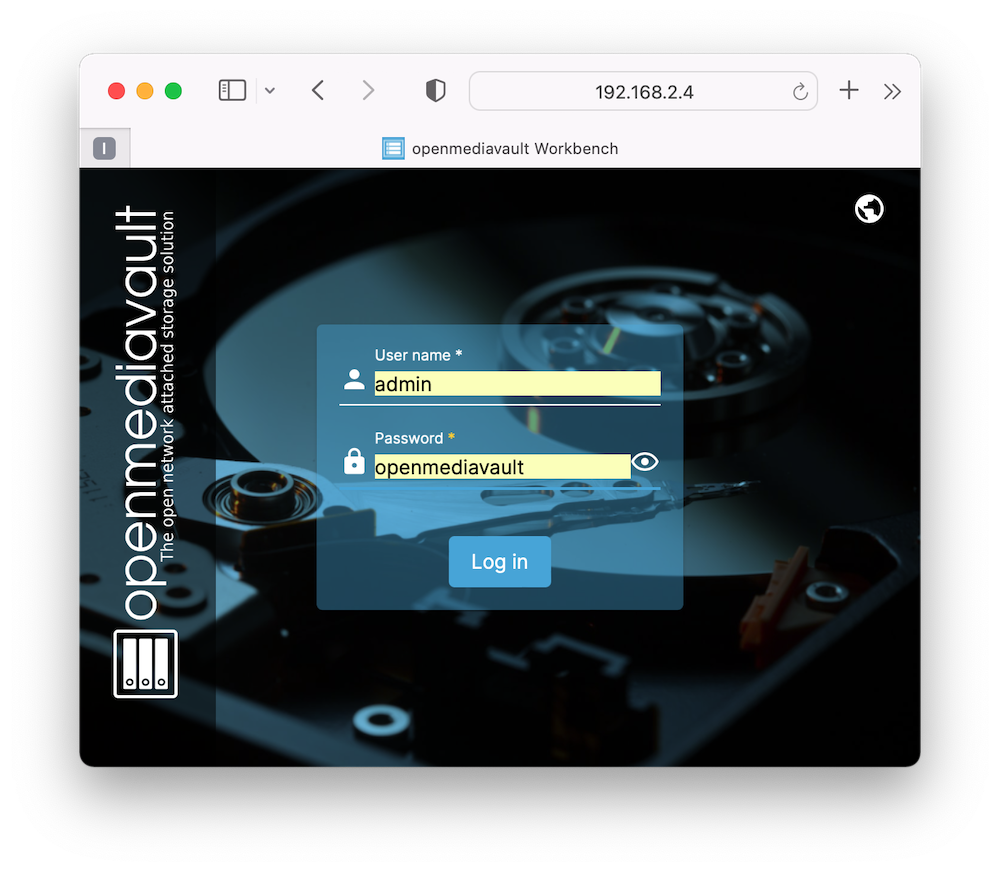
Default credentials are admin:openmediavault.
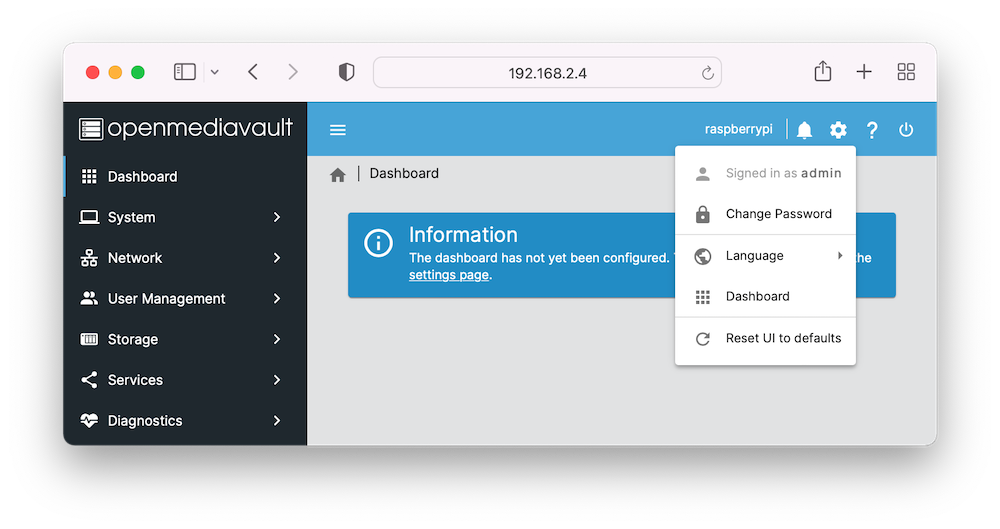
Change the password immediately!
Configure File Services
Make sure you connected the SSD to your Raspi.
Scan your disk
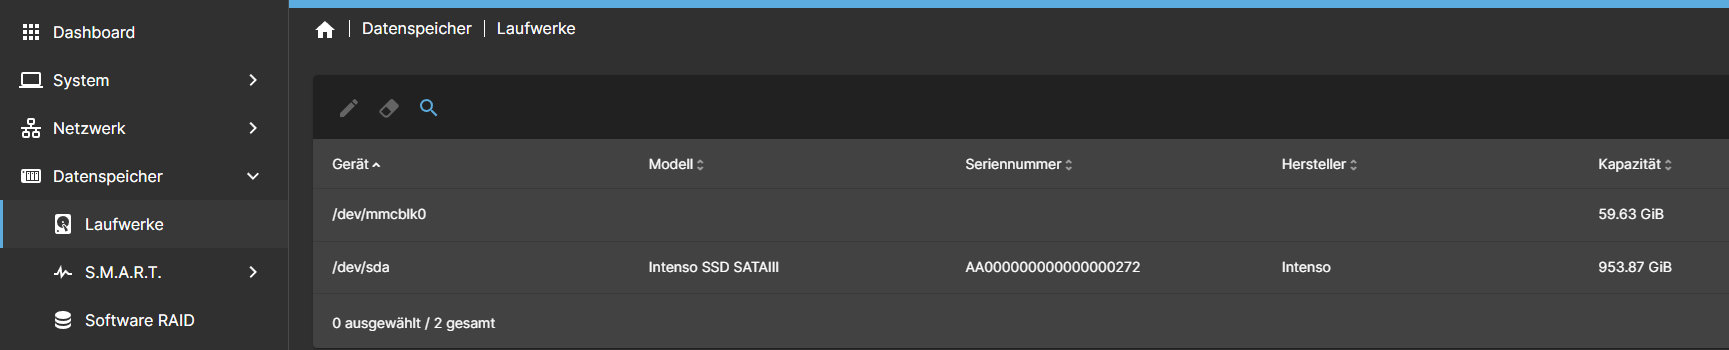
If your disk disk was not found in the first place click on the magnifying glass in the top ribbon.
Mount the drive
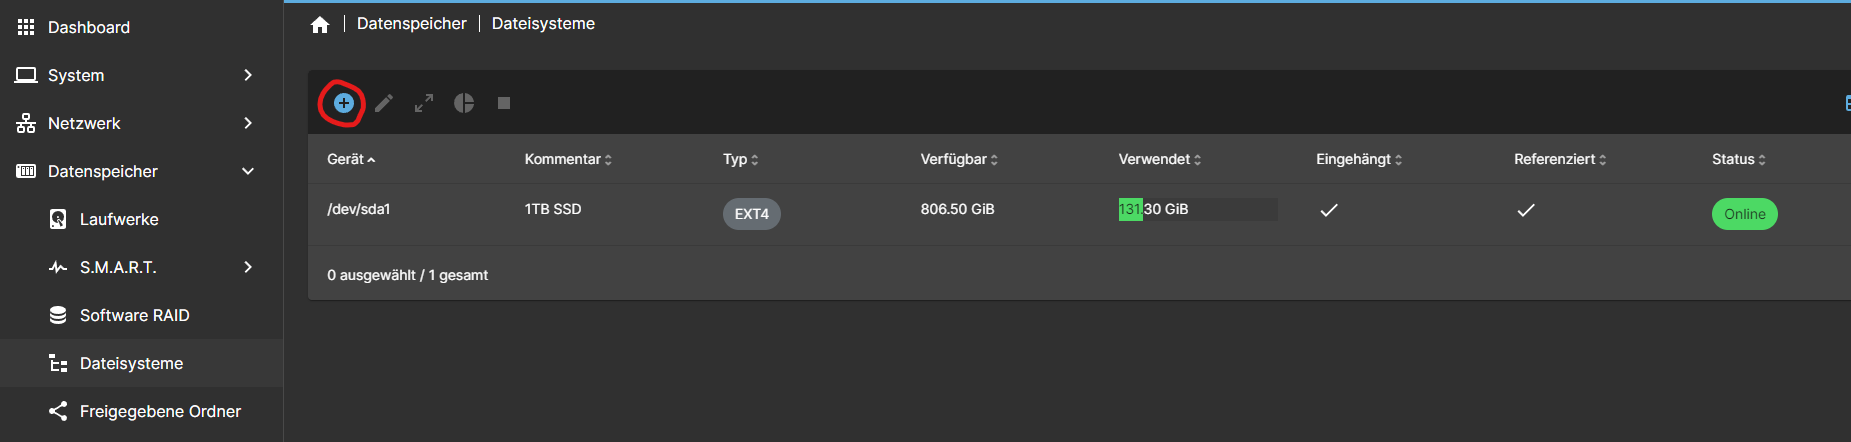
Click Storage > File Systems from the sidebar menu to enter the file system management page. If the storage device does not have a file system yet, click + to Create or Mount file system. OMV can create/mount ext4, ext3, JFS, xfs file systems, but only mounts are supported for the NTFS file system. So use NTFS.
Set Shared Folders
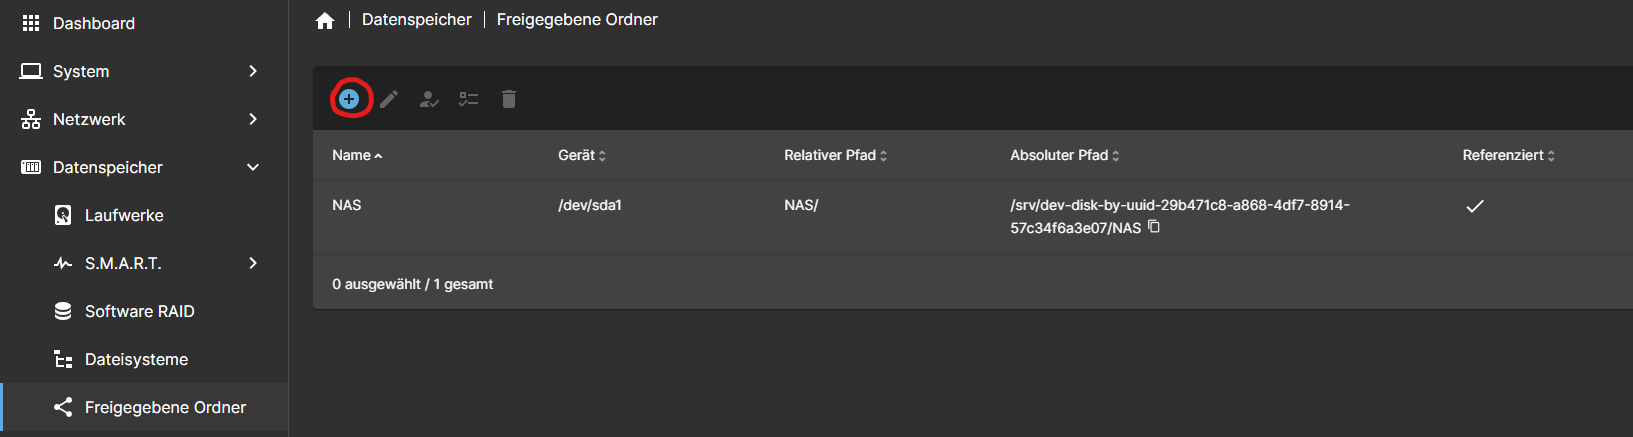
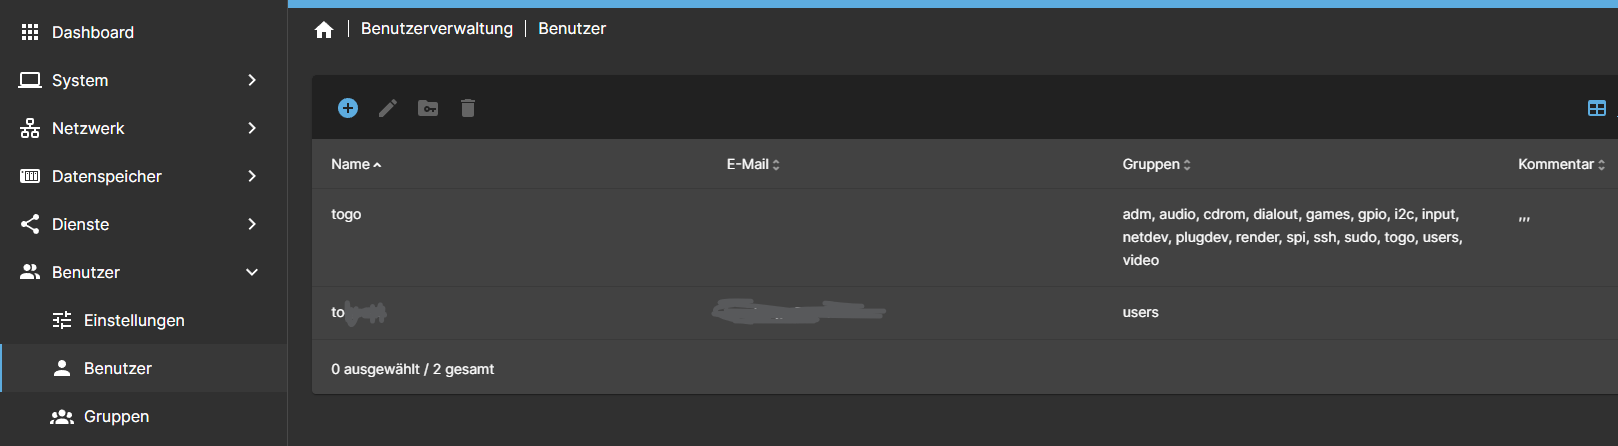
Create access user