Splunk Installation
Before we install splunk we need to change some settings.
First we remove the "virbr0" network interface as it's useless for our project. Virbr0 is used for virtualization purposes and acts as a switch you can connect your guests and your host if you are virtualizing.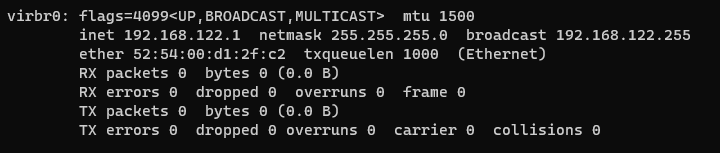
To do this enter following commands:
systemctl stop libvirtd.service
systemctl status libvirtd.service -> make sure service is innactive
systemctl disable libvirtd.service
reboot
After reboot the interface is removed.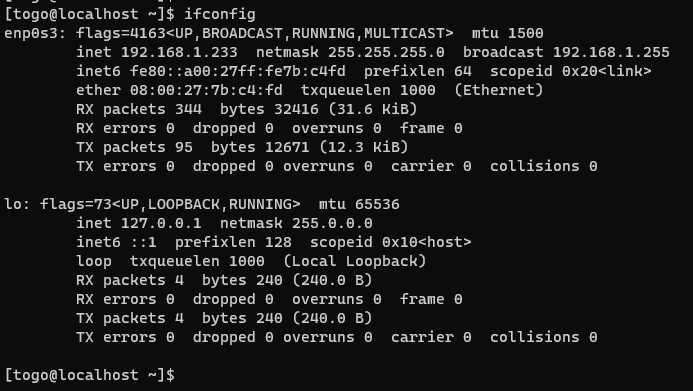
Install Splunk
Now we are one step closer to the Splunk CTF. First we need to install Splunk Enterprise.
Splunk Enterprise is free for 60 days and afterwards you'll need to provide a license anyway we download Splunk enterprise from the homepage https://www.splunk.com/de_de/download/splunk-enterprise.html
Probably you need to log in yourself to have access. 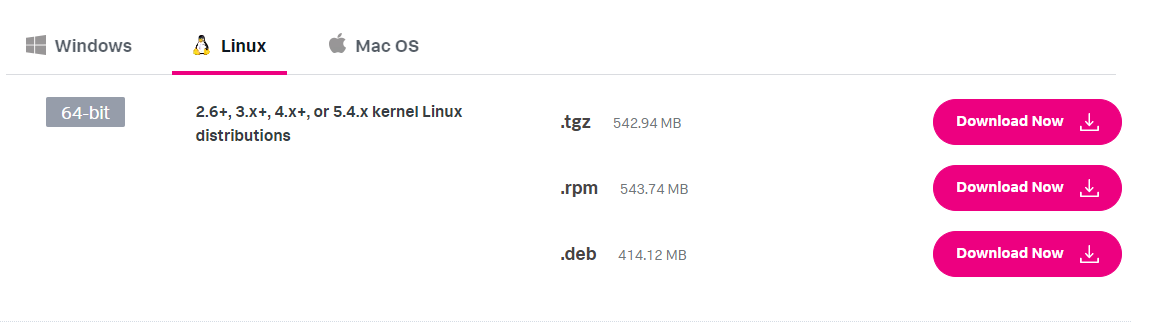
I followed the guide of Splunk https://docs.splunk.com/Documentation/Splunk/7.0.3/Installation/InstallonLinux
We are downloading the RPM package. Once downloaded we can start with the installation.

Confirm that the RPM package you want is available locally on the target host.
Verify that the Splunk Enterprise user account that will run the Splunk services can read and access the file.
If needed, change permissions on the file.
chmod 744 splunk_splunk-8.2.2.1-ae6821b7c64b-linux-2.6-x86_64.rpm

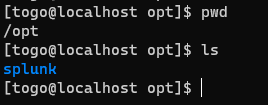
Invoke the following command to install the Splunk Enterprise RPM in the default directory /opt/splunk.
rpm -i splunk-8.2.2.1-ae6821b7c64b-linux-2.6-x86_64.rpm

Now as Splunk is installed we need to set the admin password.
Go to the directory: /opt/splunk/bin
Afterwards you are prompted to accept the license. Accept it and go on.
Choose and administrator username:
Provide a password and splunk will get started.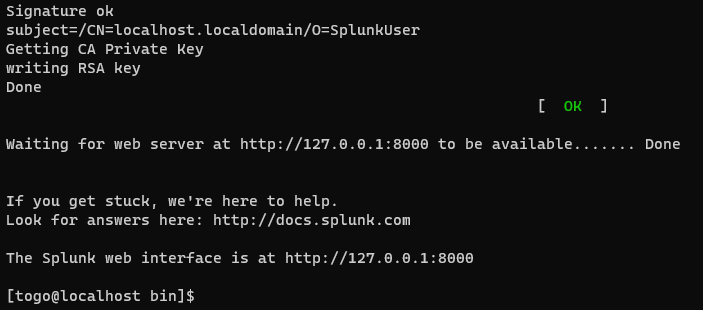
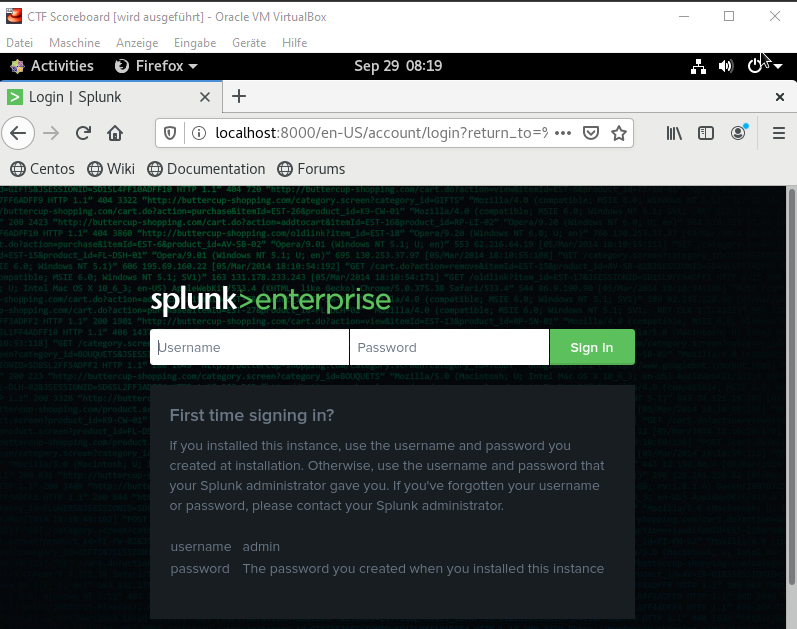
By checking on the browser in the CentOS VM localhost:8000 we should see a Splunk login screen: